適用型號
- RM-LVR2
- RM-LVR2V
關於此下載
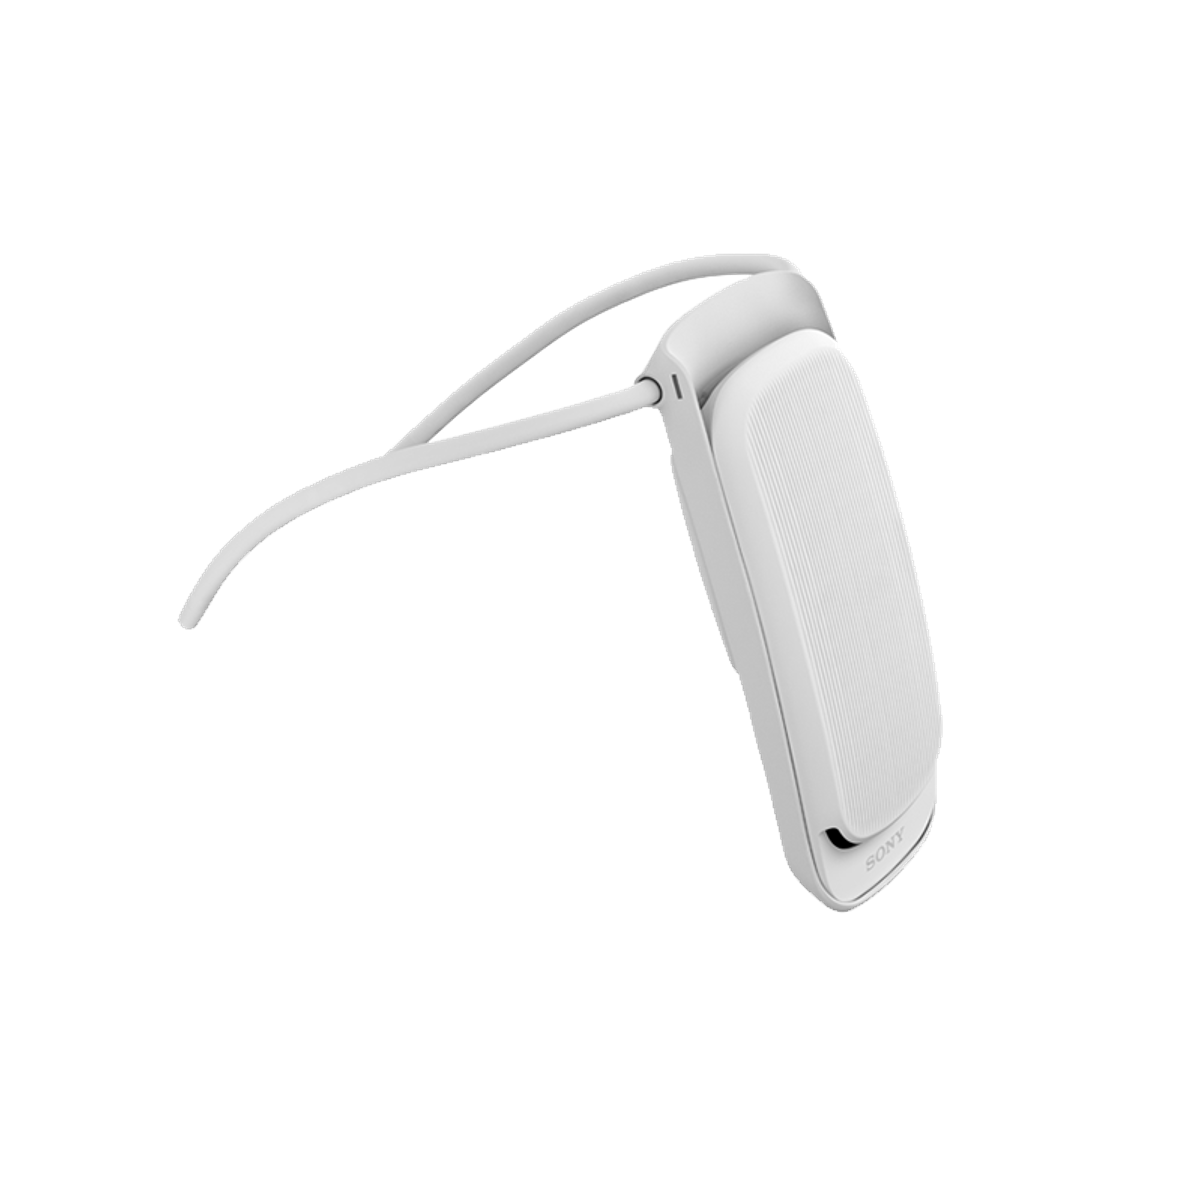
Thank you for your continued interest in Sony products. Sony is offering a system software update for Live-View Remote RM-LVR2.
Applicable model name of the product
Live-View Remote RM-LVR2V
(Supplied with HDR-AZ1 Model Series)
Applicable system software version of the units
This update is only applicable for product with the System Software version “Ver. 1.00”.
Contents of update
- “Loop recording” mode has been added to shooting mode setting. *1
- The following features have been added to camera setting. *1
-White balance setting
-AE shift setting
-Audio recording setting
-Wind noise reduction setting
-Loop recording interval setting - Image quality setting has been added. *2
- Movie format setting has been added. *2
- Date & time/area/daylight saving time (summer time) setting has been changed.
- Time zone of some areas has been changed.
Notes:
*1:Only available with compatible cameras.
(FDR-X1000V, HDR-AS200V as of Mar. 6th, 2015)
*2: Only available with compatible cameras.
(FDR-X1000V as of Mar. 6th, 2015)
Instruction Manual of this firmware update:
- Arabic
- Chinese (Simplified)
- Chinese (Traditional)
- English
- French
- Indonesian (Bahasa Indonesia)
- Korean
- Portuguese
- Thai
System requirements for a computer
Supported OS
- Mac OS X v.10.7 – 10.10
Other system requirements
- CPU: Intel processor (Core Solo and Core Duo processors are no longer supported).
- Hard disk space: 200MB or more
- RAM: 512MB or more
Note: Please close all other application software before updating the system software.
Other items
- Power source for the camera: We recommend that you use it in the state where it fully charged.
- USB cable supplied with the device.
Note: Update functionality is not guaranteed with any other USB cable.
If you are running on Mac OS X version 10.10, running DriverLoader, a preparatory application, is necessary before software updates.
檔案資訊
檔案名稱
- Update_RMLVR2V2.dmg
檔案版本
- 2.00
檔案大小
- 83.9MB
日期
- 2015-03-06
系統需求
- OS X
安裝
詳細資訊
- Download the file to your computer
Please save the downloaded file onto the Desktop of your computer (recommended). - Start Firmware Updater
- Double click Update_RMLVR2V2.dmg to start up Firmware Updater.
Do not connect the camera yet at this point. - Update_RMLVR2V2 is expanded.
- Double-click the Firmware Updater icon.
- To load a kernel extension, the message prompts you to allow the application to make changes. Type the password for the administrative account.

Note: If the pop-up “”FirmwareUpdater” can’t be opened because the identity of the developer cannot be confirmed.” appears, please follow below steps:

1. Click the icon while pressing the Control key. Select “Open” in the menu.

2. Select “Open” when the warning message appears.

- Firmware Updater starts up.

- Double click Update_RMLVR2V2.dmg to start up Firmware Updater.
- Connect the camera to the computer
- Connect the camera to the computer with the supplied USB cable.
"USB Mode” appears on the LCD monitor of the camera. Please proceed to the next step. - After confirming the above, click Next on Firmware Updater.
Screen of Computer

LCD screen of the device

Note: From this step onwards, never turn off the device until the system software upgrade is completed.
- Connect the camera to the computer with the supplied USB cable.
- Check if the update is required
- After confirming the screens from the above steps, click Next.
The current version and the version after the upgrade appear on the lower left part of the screen. - After confirming Current version is Ver. 1.00, click Next.
Note: If Current version is Ver. 2.00, the upgrade is not required. According to the message, stop the USB connection and click Finish.
- After confirming the screens from the above steps, click Next.
- Reset the camera
- The screen below appears.

- Press the ENTER button on the unit to execute.
Note: The screen turns off when the ENTER button is pressed. Please proceed to the next step. - Click Next on Firmware Updater.

- The screen below appears.
- Start the update
- After resetting, reconnection of the camera is verified, and the screen below appears.

- Click Run to start the upgrade. The progress bar appears while upgrading (approximately 10 minutes).
Note: Never turn off the camera nor disconnect the USB cable while upgrading.
- After resetting, reconnection of the camera is verified, and the screen below appears.
- Complete the update
When the upgrade is completed, the screen below appears. Click Finish and disconnect the USB cable.

Note: Turn off the device and then turn on the device again. - Check the firmware version
Follow the instruction to confirm the firmware version is Ver. 2.00.- Press MENU button to select
 Remote control setting, then press ENTER button.
 - Press
 Version then press the ENTER button. If the display changes as shown below. then the system software version is Ver.2.00.

- Press MENU button to select


